Fig. 1 The final-form wax-up
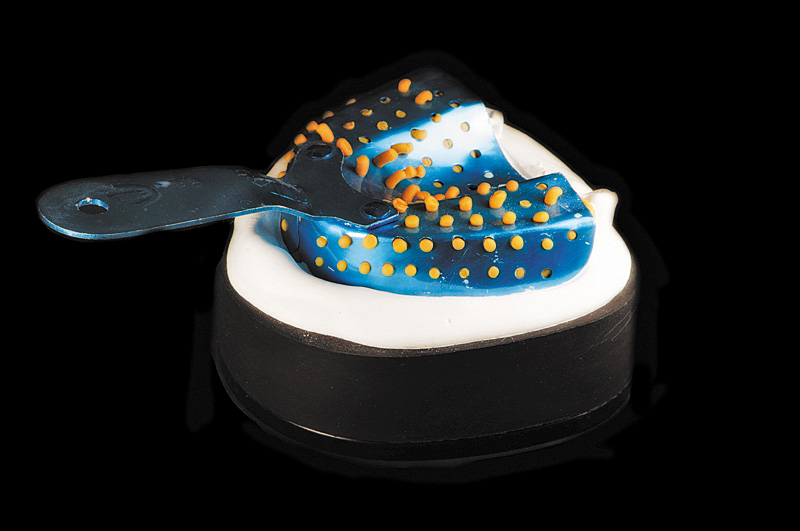
Fig. 2 Creating a split-case base
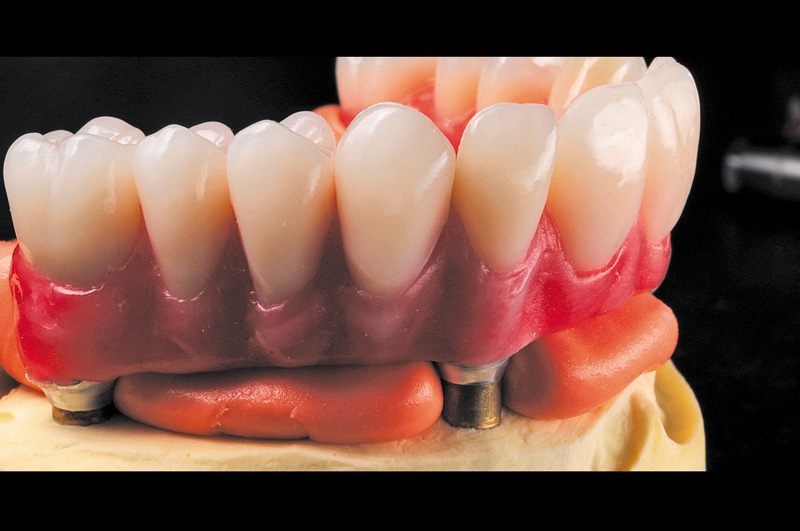
Fig. 3 Capture the detail of the itaglio surface
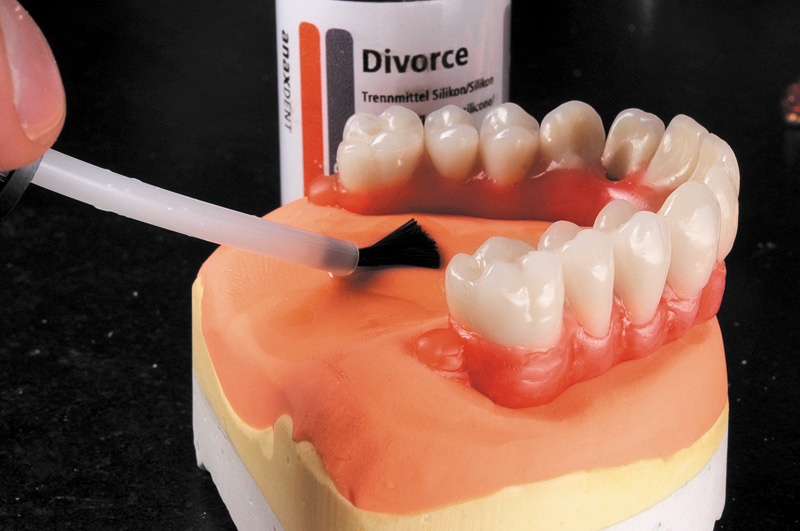
Fig. 4 Applying the silicone separator to putty matrix.
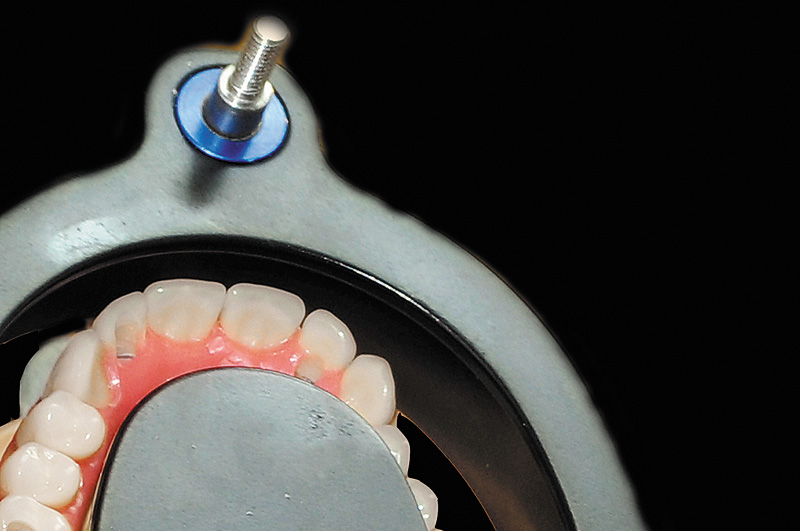
Fig. 5 Position the model in the flask
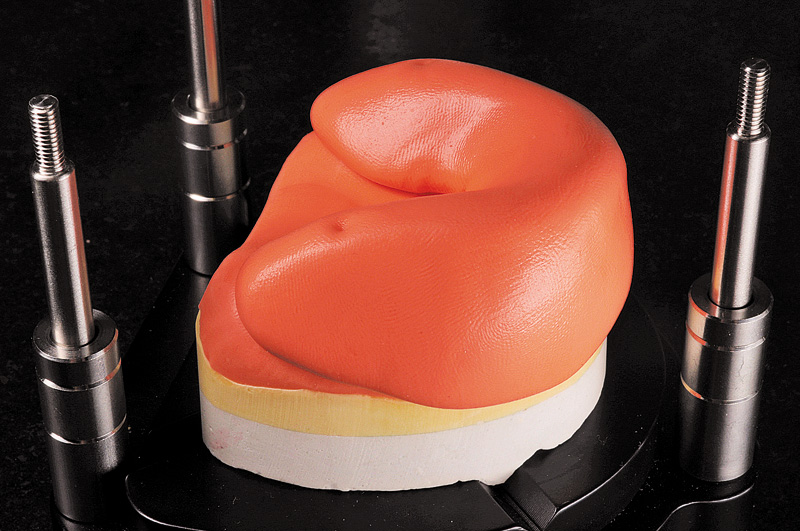
Fig. 6 Apply Matrix form 60 putty to wax-up
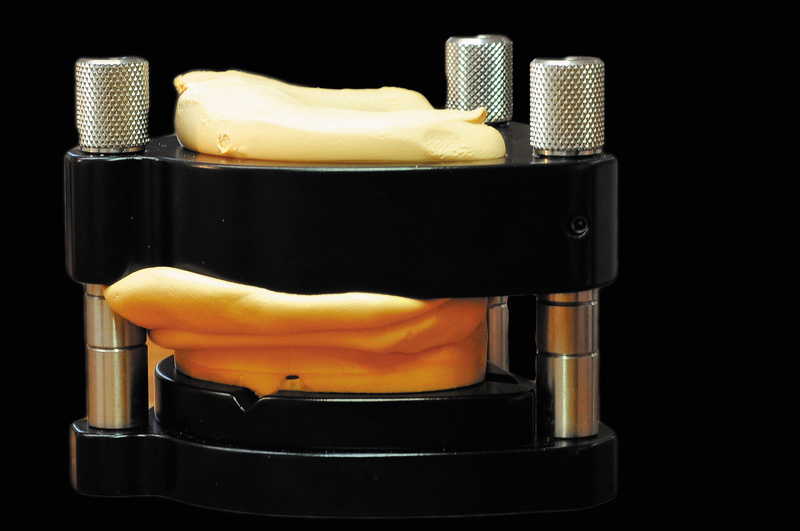
Fig. 7 Lock the flask in the place.
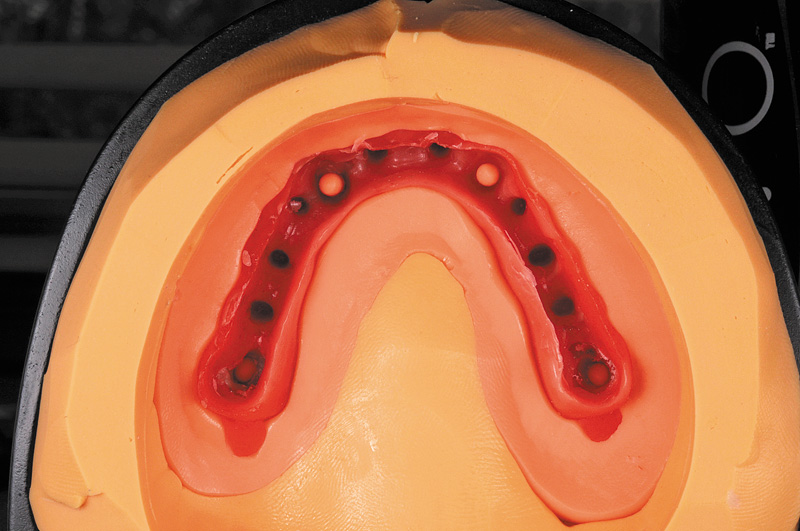
Fig. 8 Remove model and wax-up from matrix.
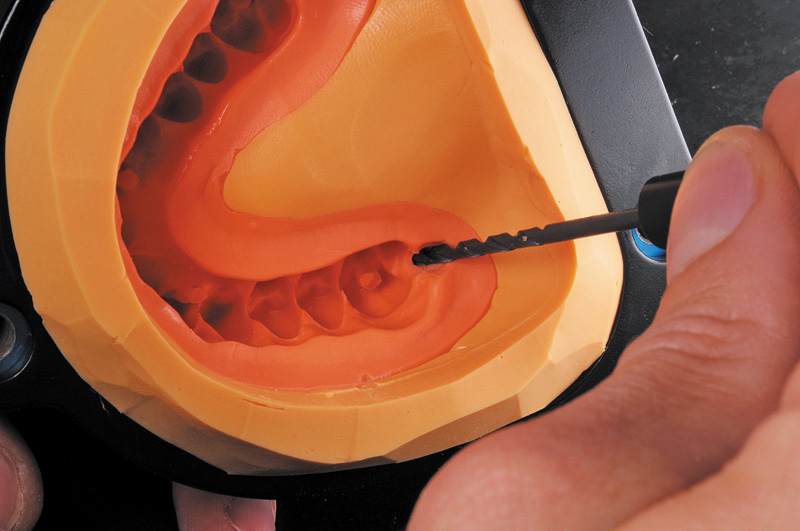
Fig. 9 Create sprue hole in most distal areas
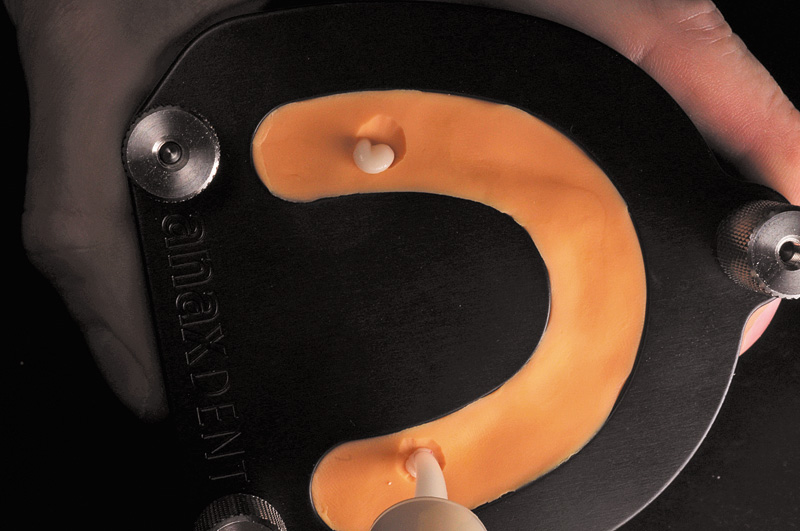
Fig. 10 Follow the instructions and carefuly inject the acrylic into the
sprue hole.
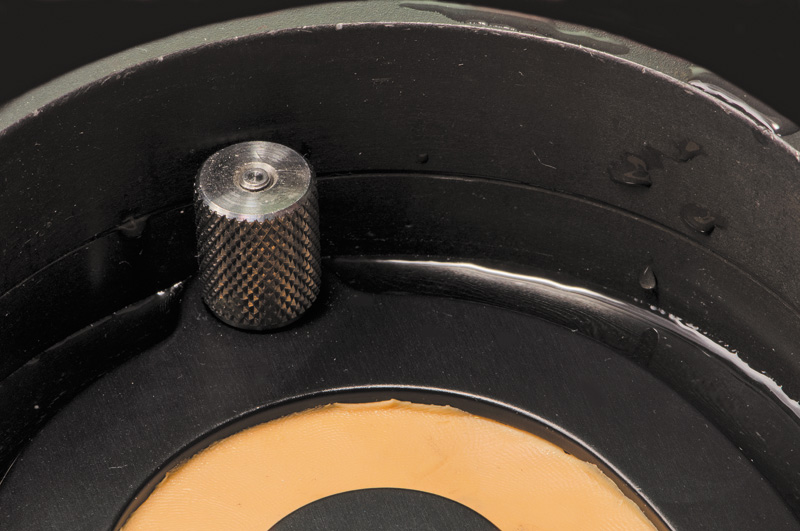
Fig. 11 Put flask in pressure pot at 2-3 bar. Do not submerge in hot
water, just surround the flask.
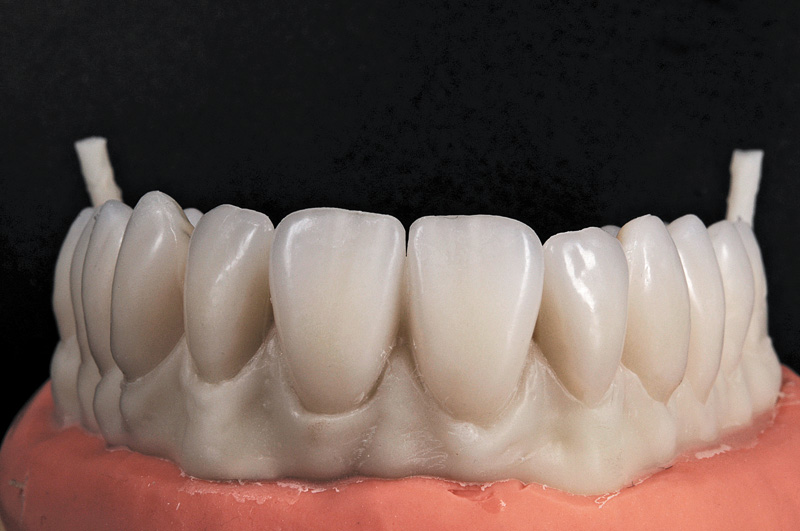
Fig.12 The exact match of wax-up
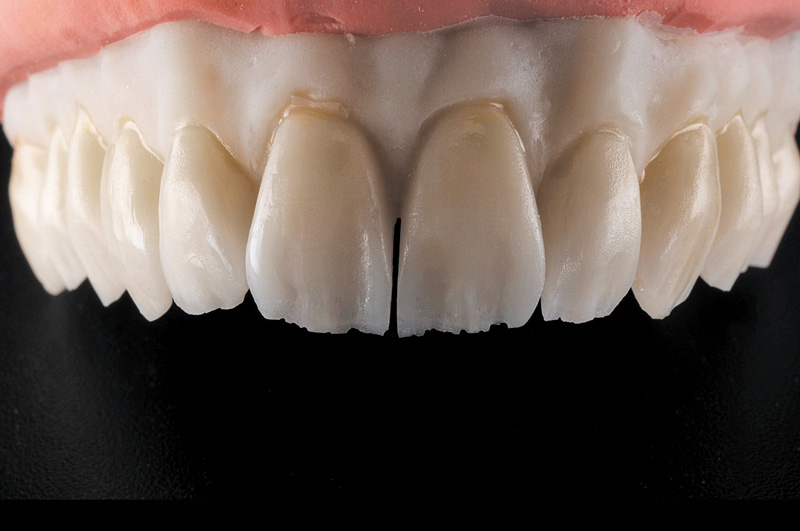
Fig. 13 Add internal stains (anaxblend colors S) to create a natural look.
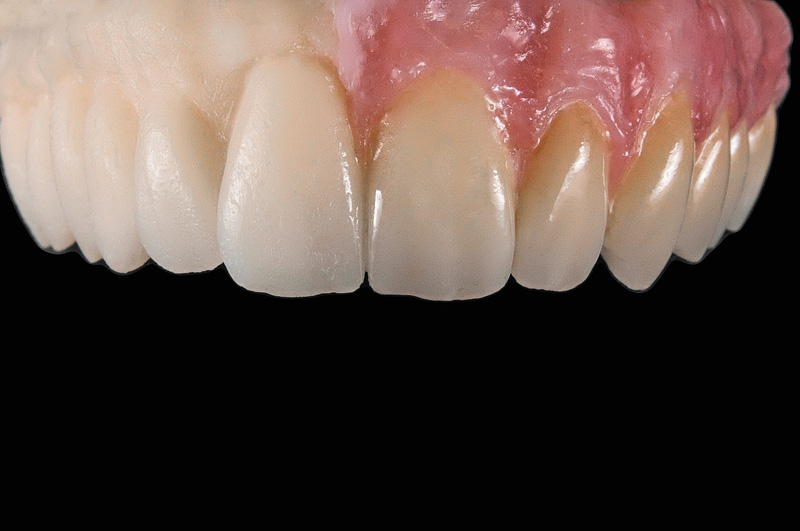
Fig. 14 Apply pink composite (anaxgum) to gingival area to create
excellent esthetics.

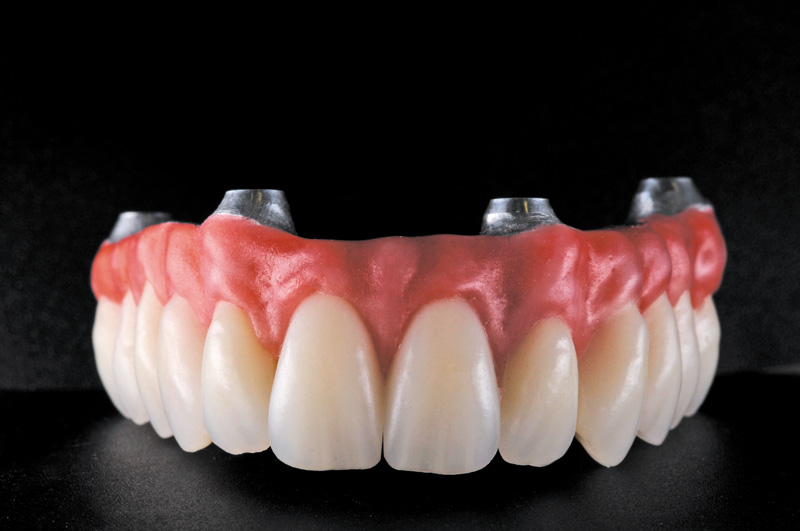
Fig. 15 The find view of the provisional prosthesis, which can perform
reliably for up to one year.