Fig. 1 The final-form wax-up

Fig. 2 Creating a split-case base
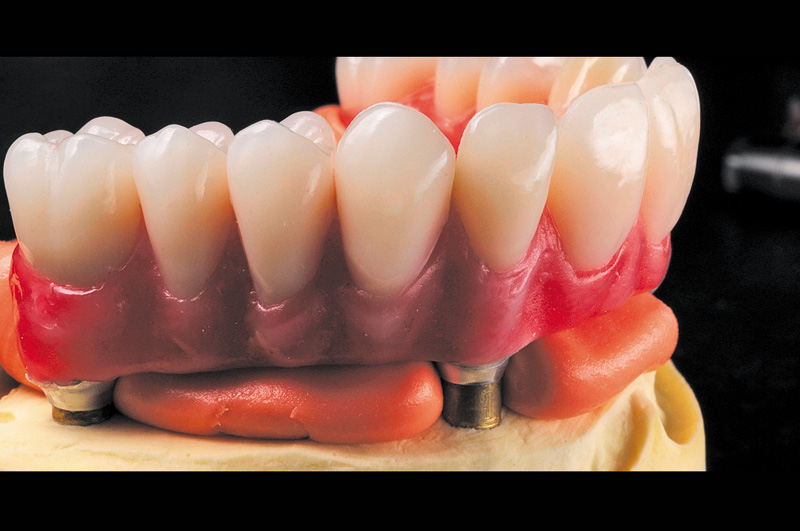
Fig. 3 Capture the detail of the itaglio surface
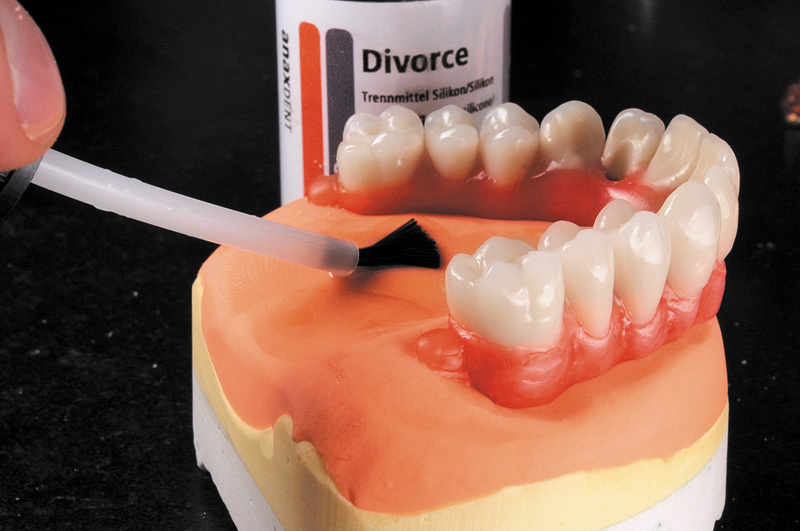
Fig. 4 Applying the silicone separator to putty matrix.
Fig. 5 Position the model in the flask
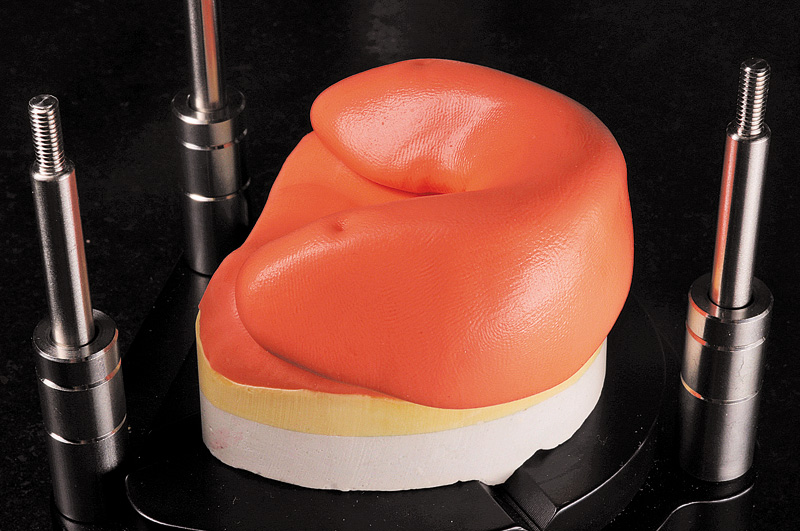
Fig. 6 Apply Matrix form 60 putty to wax-up
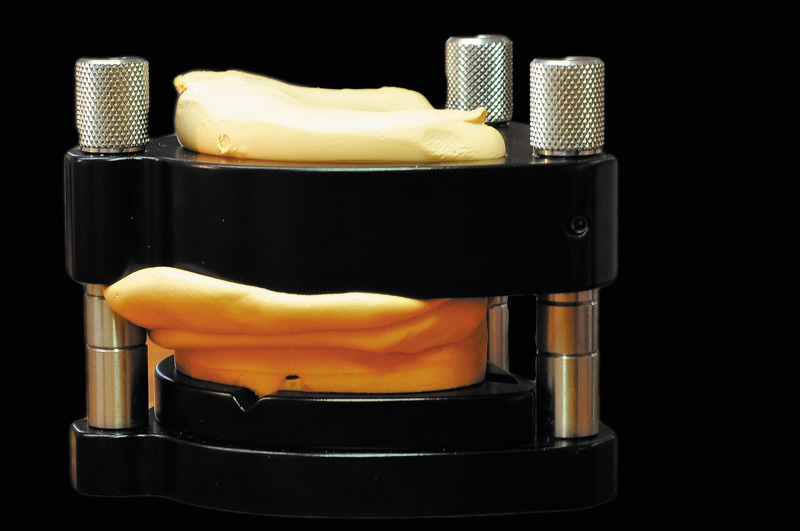
Fig. 7 Lock the flask in the place.
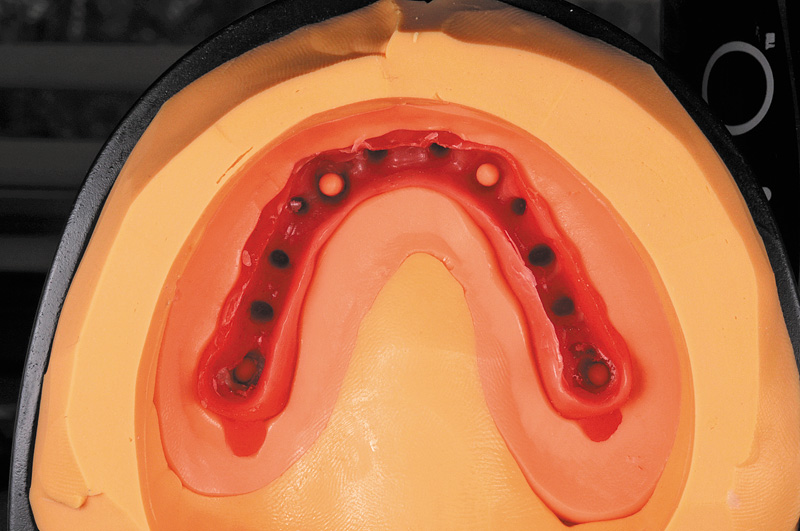
Fig. 8 Remove model and wax-up from matrix.
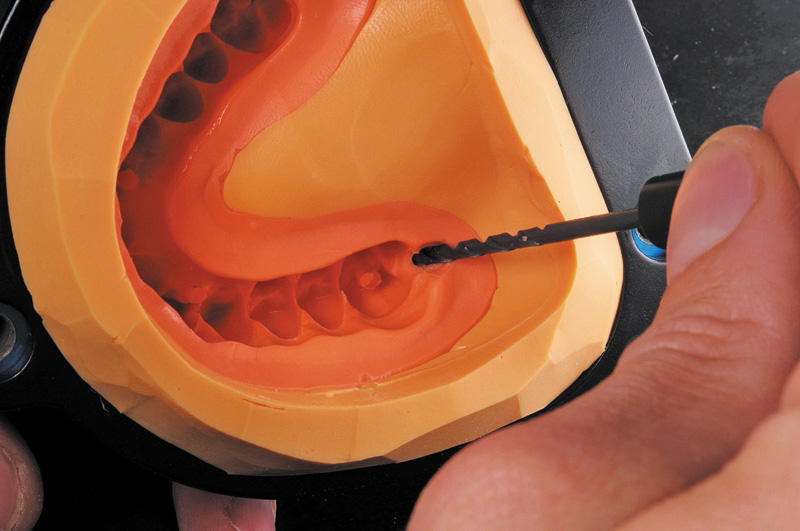
Fig. 9 Create sprue hole in most distal areas
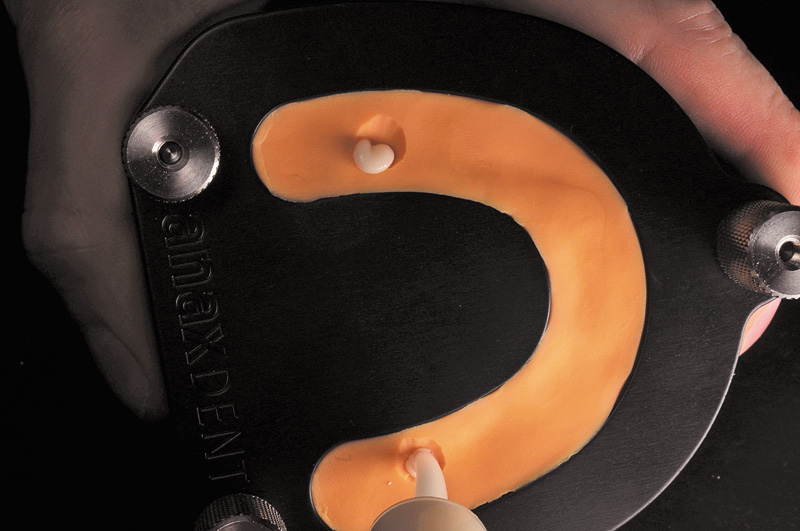
Fig. 10 Follow the instructions and carefuly inject the acrylic into the sprue hole.
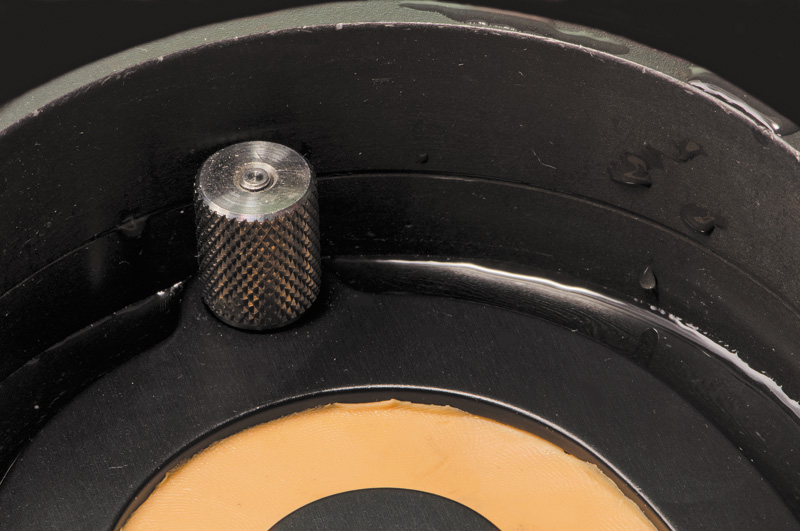
Fig. 11 Put flask in pressure pot at 2-3 bar. Do not submerge in hot water, just surround the flask.
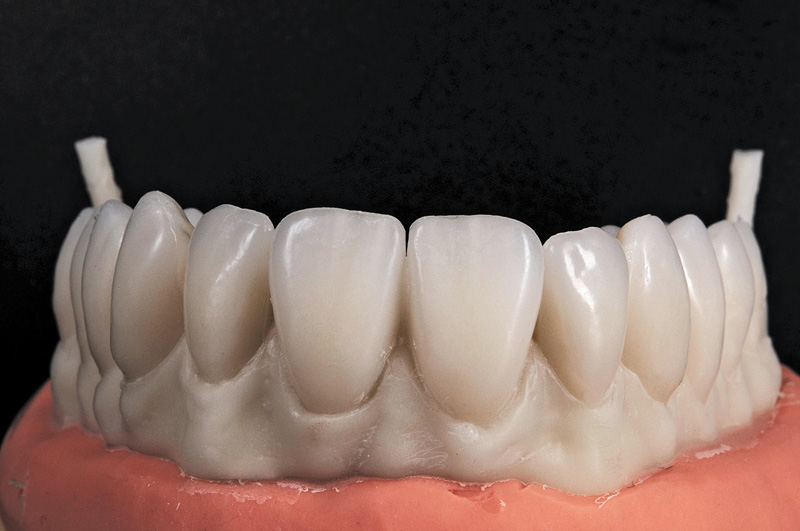
Fig.12 The exact match of wax-up
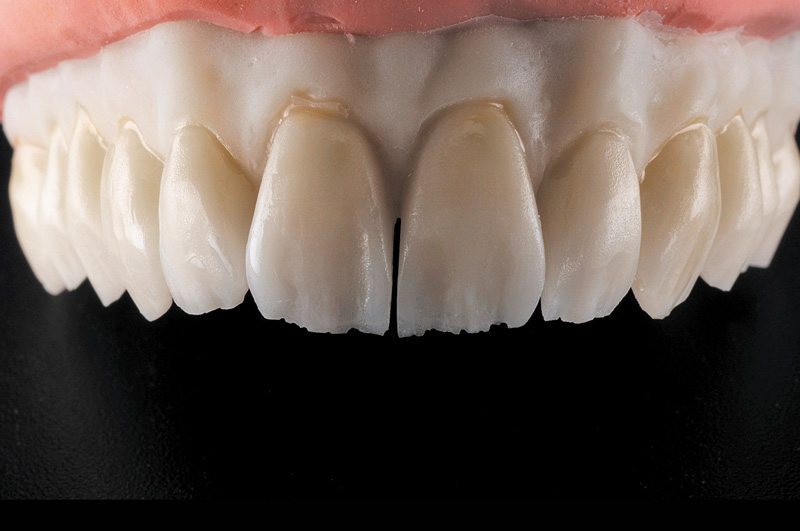
Fig. 13 Add internal stains (anaxblend colors S) to create a natural look.

Fig. 14 Apply pink composite (anaxgum) to gingival area to create
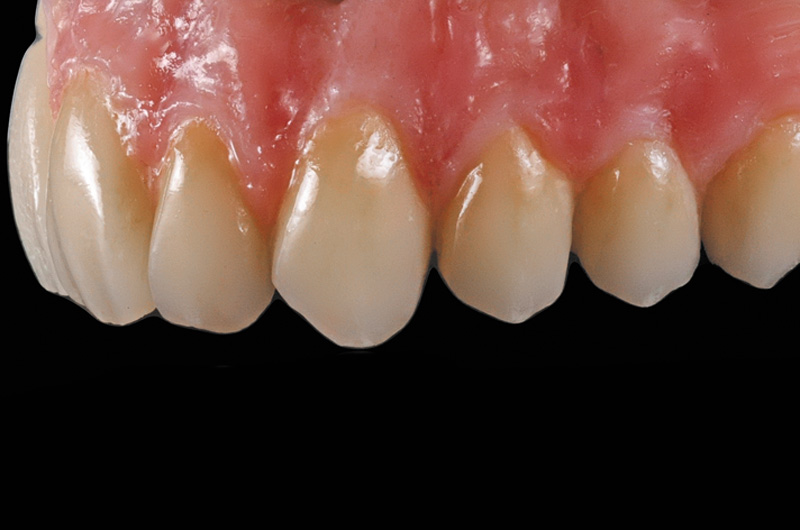
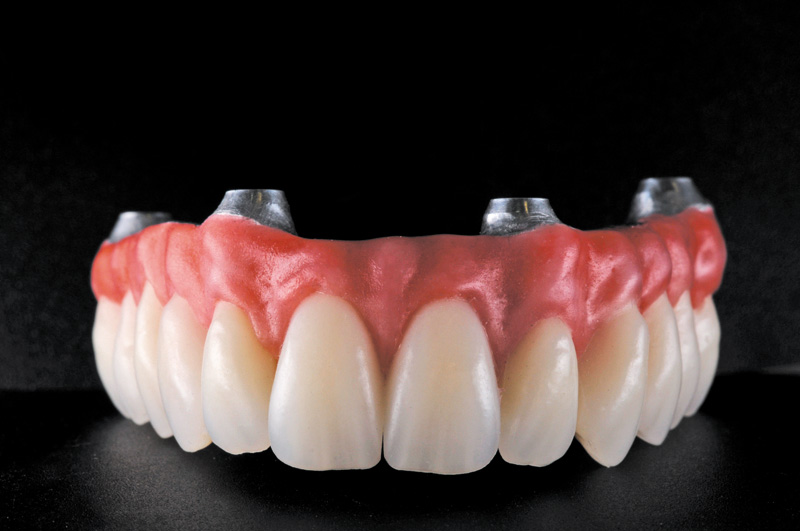
Fig. 15 The find view of the provisional prosthesis, which can perform
Fig 1
Fig 2
Fig 3
Fig 4
Fig 5
Fig 6
Fig 7
Fig 8
Fig 9
Fig 10
Fig 11
Fig 12
Fig 13
Fig 14
Fig 15